*This post contains affiliate links. I may receive a small commission if you make a purchase after clicking on the links below. Thank you for your support as it helps us to continue bringing these fabulous crafts and diy projects to you!
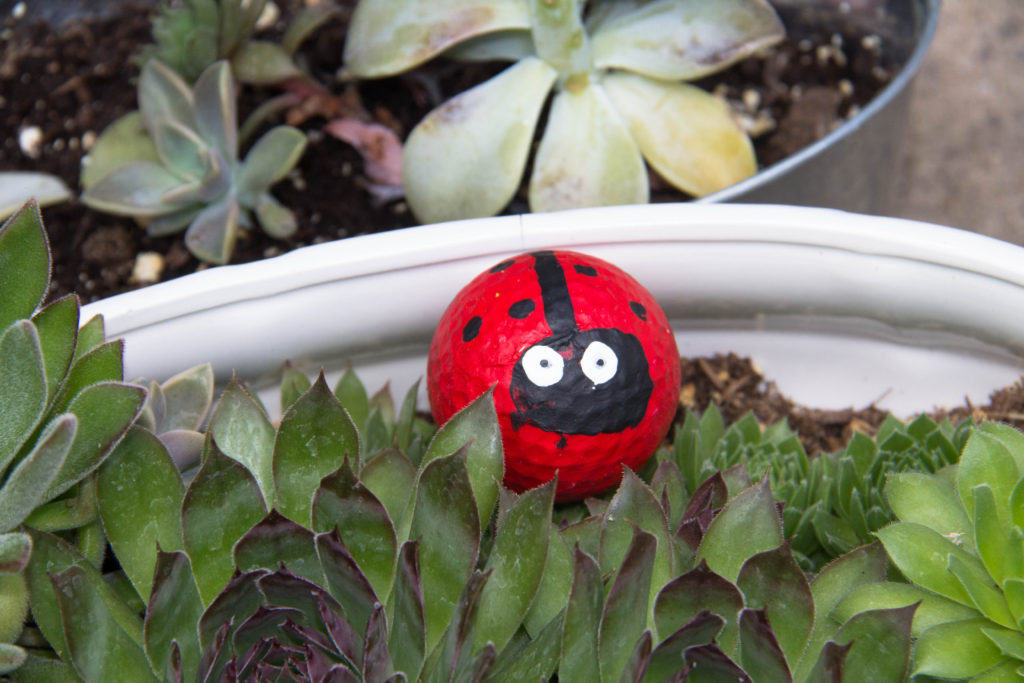
Lady bug golf balls look super cute in the garden. These are fun to make and the kids will have a lot of fun painting them. Because these are created by kids, don’t expect perfection. Just let the kids have fun. Tuck in the lady bug decorations into your potted plants or add them to a garden bed.

Lady Bug Golf Balls DIY Craft

What you need:
- Golf Balls
- Red, black and white Paint
- Paint brushes or foam brushes
- q-tip (optional)
Directions:
Start by roughing up the surface of the golf ball. This can be done either by using a used golf ball, using sand paper or rubbing it on concrete.
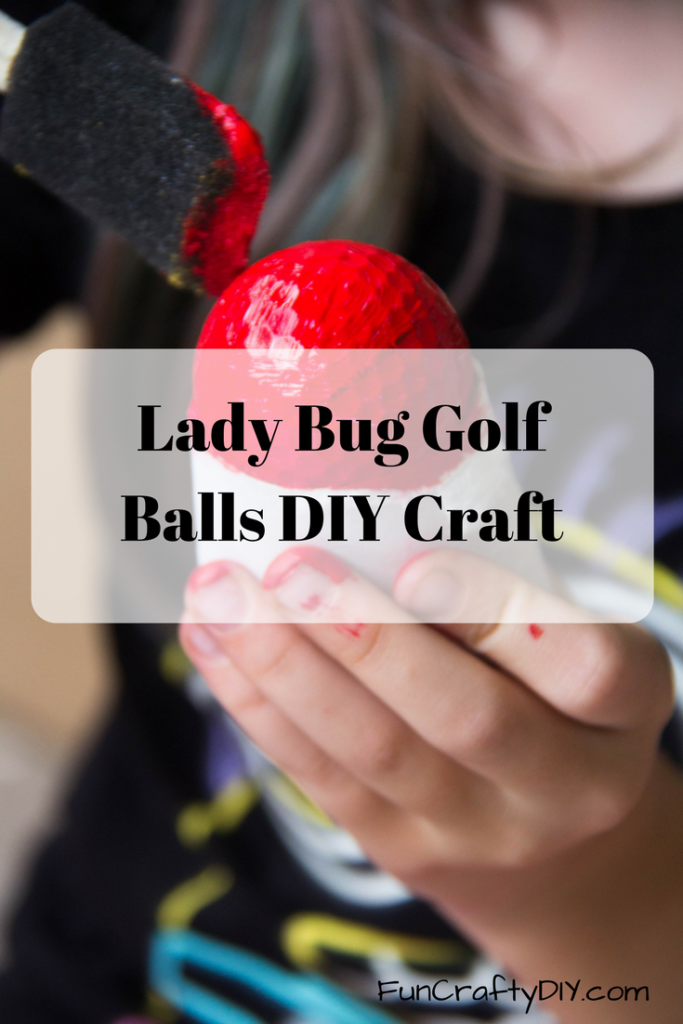
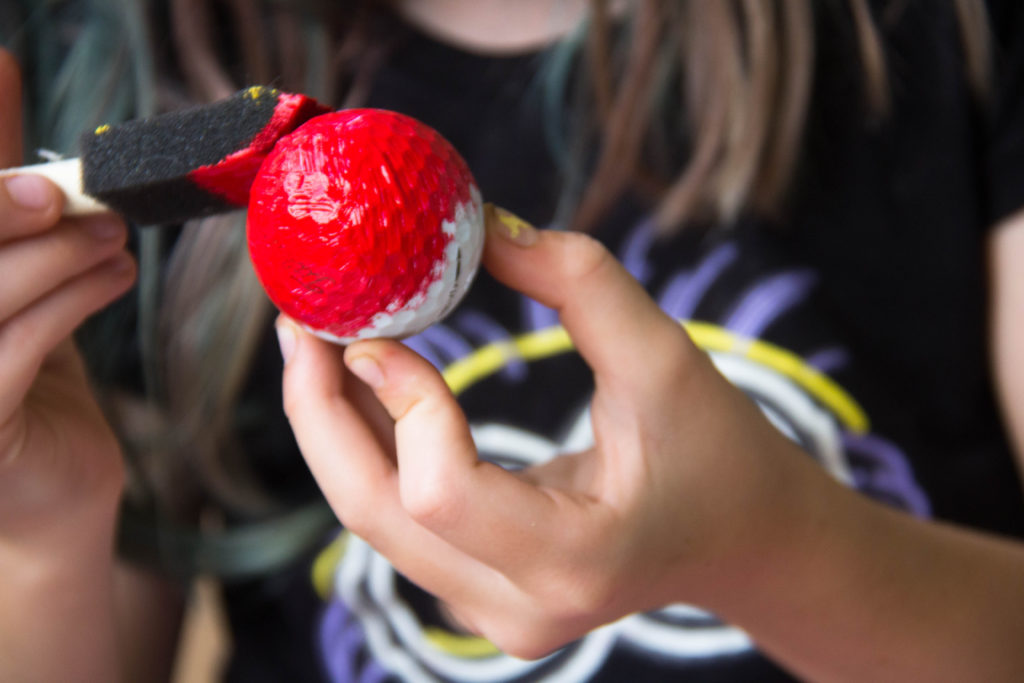
Paint the golf ball red. Let dry. You might need a second coat.

Next it is time to make the face, wings and spots.
Start with the face. To make the face, paint a black circle.
Paint a black line off the face, down the back. This makes the wings.
Next do the spots. You can use the bottom of the paint brush, a sharpie marker or use a q-tip. If using a q-tip, remove the cotton, or else the spots are too big.
Once the face is dry, pain 2 white circles for eyes.
Then add a small black spot in the eyes.

Leave a Reply